DIY Broderie Anglaise Lace Scrapbook Layout
with Wildwood Collection
Posted on 03 FEBRUARY, 2024
Welcome, fellow crafters! It’s Tracy Britton here, and today I want to share my latest creation with you: Broderie Anglaise lace on a scrapbook layout crafted with our designer papers, from the rustic and charming Wildwood collection. This cut-file design is perfect for a 12×12 scrapbook project or for adding a country-inspired edge to your handmade cards.
(Broderie Anglaise Lace cut file is available to download from Rosie’s.)
Join me as I bring this simple woodsy theme to life, featuring photos of my daughter Amelia and the adorable Harriet.

Creating the Lace Borders: Precision Meets Rustic Elegance
My layout began by cutting the Broderie Anglaise borders from plain white cardstock using my Silhouette Cameo. Each lacework design was cut to a width of 25.5cm (10 inches), including two of the more delicate pattern. After removing everything except the outermost edge of the cut files, I cut a backing from textured beige cardstock.
Choosing Contrasting Papers: A Study in Texture and Colour
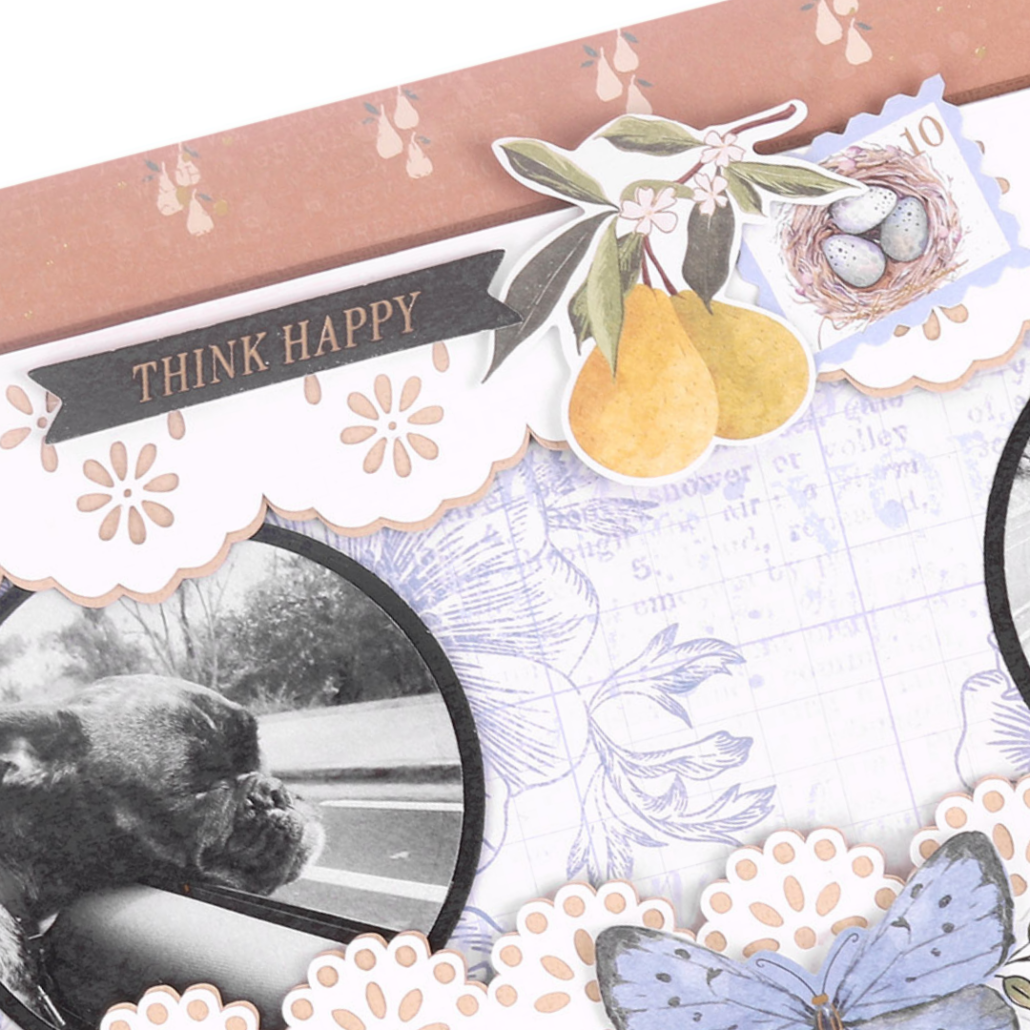
The Wildwood collection offered the perfect palette for complementing the white and beige lacework. I selected a white and blue floral print along with a more vibrant brown pears pattern for a striking contrast. The blue floral paper was cut into a 10-inch square and afterward backed with a slightly larger square of brown textured cardstock fixed in place with a glue stick. This was then centred on top of the brown pears patterned 12×12 paper.
Assembling the Layout: From Negative Space to Layered Detail
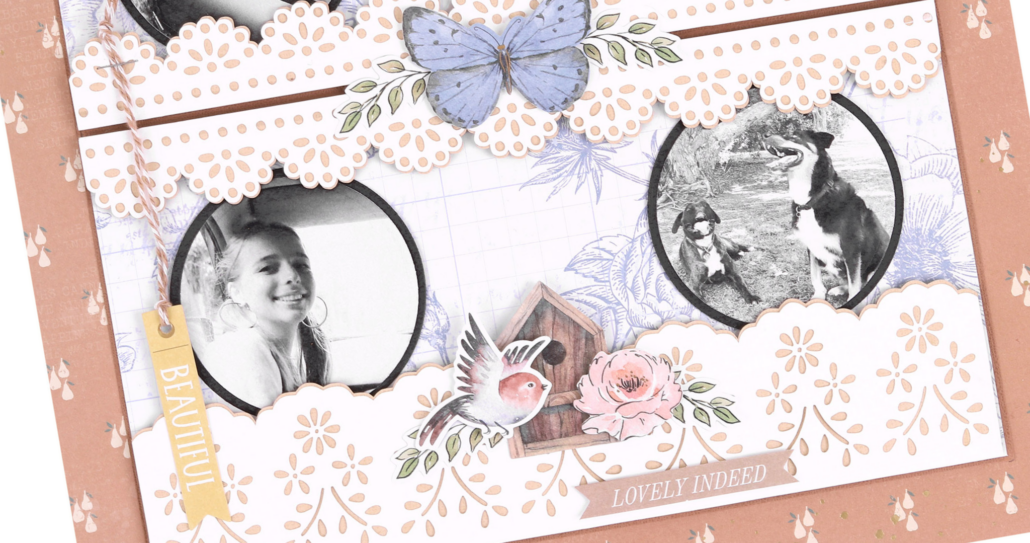
Using leftover brown cardstock strips, I added a 1cm (0.5-inch) strip horizontally across the floral paper’s center, creating a subtle negative space. This detail became the base for the two thinner lace borders. After attaching the white lace borders to the beige mats—offset slightly to reveal the beige beneath—I glued them to the top, middle, and base of the floral paper using foam tape for added dimension.


Adding Embellishments: Personal Touches that Pop
Next, I selected die-cut ephemera to create three decorative clusters. These were fixed to the lacework at the top, middle, and bottom, using foam tape and double-sided tape to vary the heights of the cluster elements, creating texture and depth.
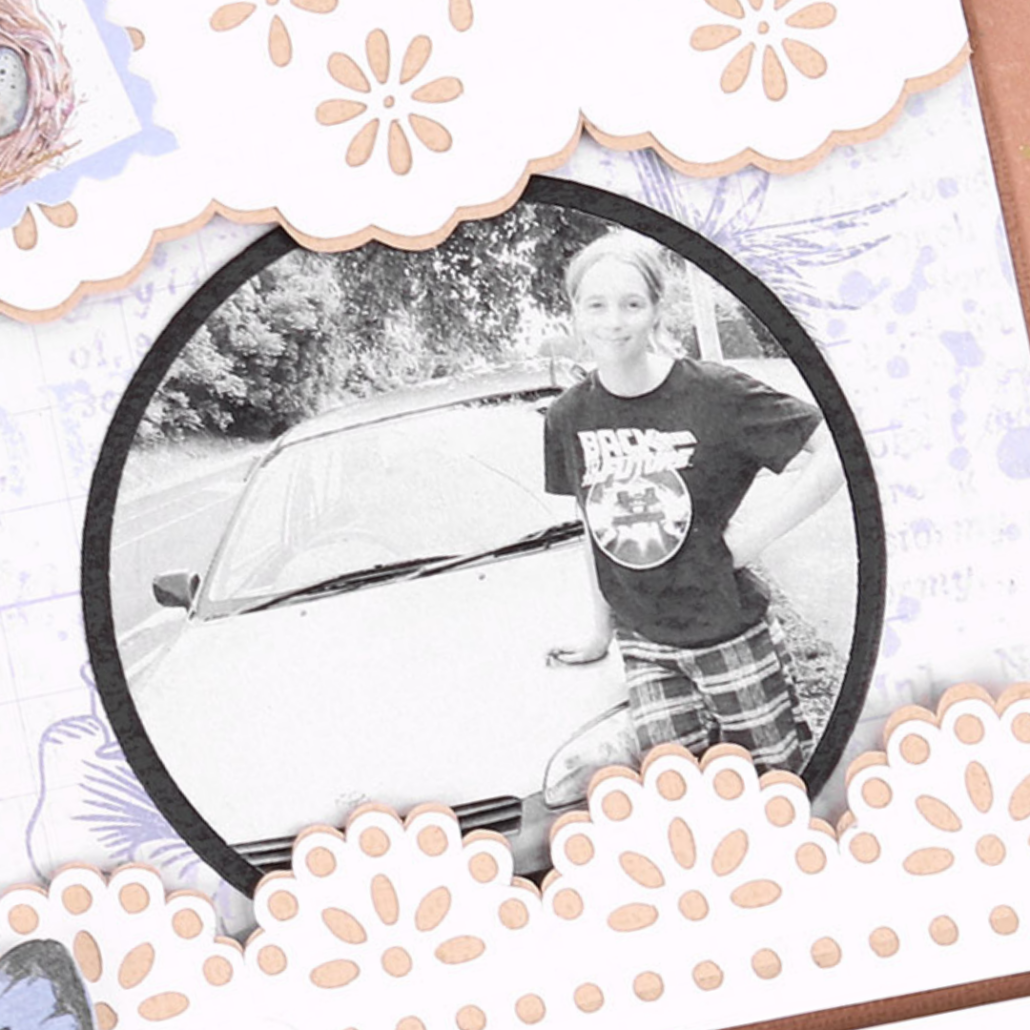
With four photographs printed out in black and white, I cut them into 70mm (2 3/4”) circles and backed them with 76mm (2 7/8 inch) circles of black cardstock to create a bold frame. Using a glue stick, I affixed the photographs onto the layout, sliding each image under the surrounding lacework for a cohesive composition.

The Finishing Touch: Adding Dimensional Text
Lastly, I focused on the sentimental finishing touches. I attached baker’s twine to the “beautiful” sentiment tag and stapled the string to the lacework, and secured the two top and bottom sentiments next to each cluster with foam tape for a raised effect. They were placed on opposite sides of the clusters to offset the mainly-symmetrical design and add a bit of quirkiness to my Wildwood Brodierie Anglaise lace layout.
Items used: Wildwood 12 x 12″ Paper Pack | Wildwood Diecut Ephemera | Wildwood Diecut Ephemera – Sentiments
Share this:
