Frightfully Fun Halloween craft ideas
Posted on 7 october, 2023
Hello everyone…and Hello October!
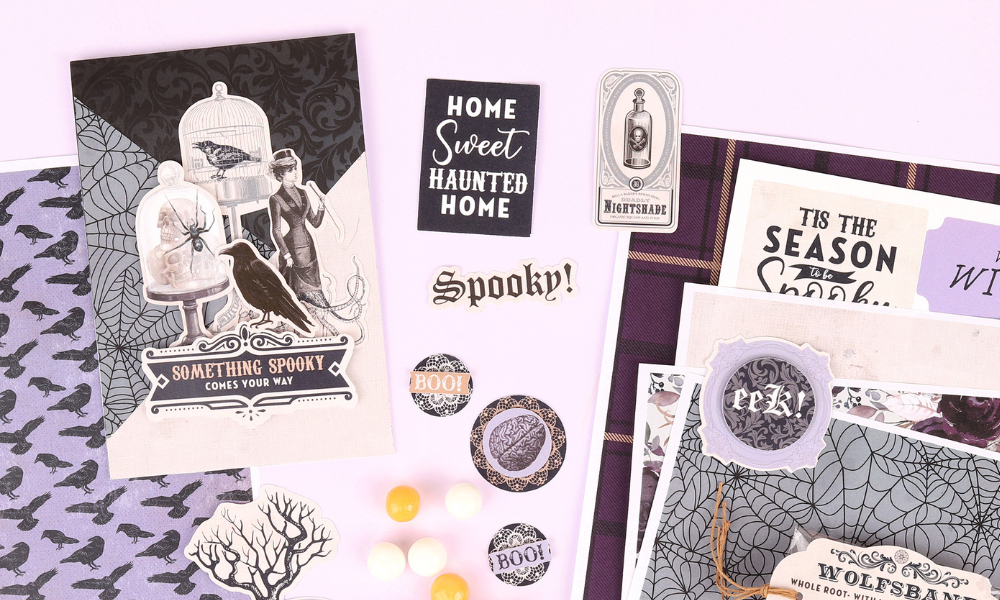
Yes, it’s the season for all things spooky so today we’re focussing on showing you our digital Halloween. We’ve also got some handmade cards, gift tags and labels, DIY Halloween treat bags and scrapbook pages to inspire your next papercraft project.
You may have wondered why Rosie’s hasn’t ever come out with a Halloween scrapbooking collection. You see, all of us at Rosie’s grew up in New Zealand when Halloween was not a thing. There was no trick or treating, dressing up, and not a pumpkin in sight!
It has taken a long while, but we now embrace October 31 as day for celebration, and you’ll find the streets filled with tiny little ghouls and witches going door to door to fill up on sweets.
So things are changing, and that means we’ve stuck our toes in the cauldron to bring you some Rosie’s Halloween-themed items.
our HALLOWEEN PRINTABLE collections & CUT FILE
Our first Halloween items are all downloadable products.
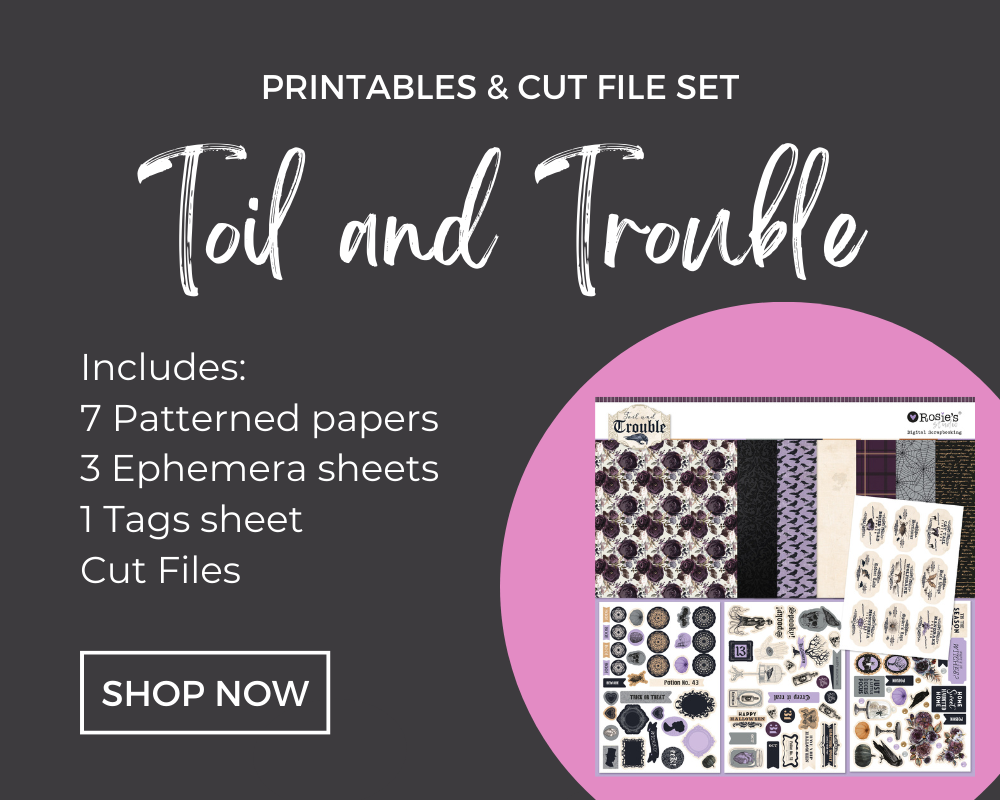
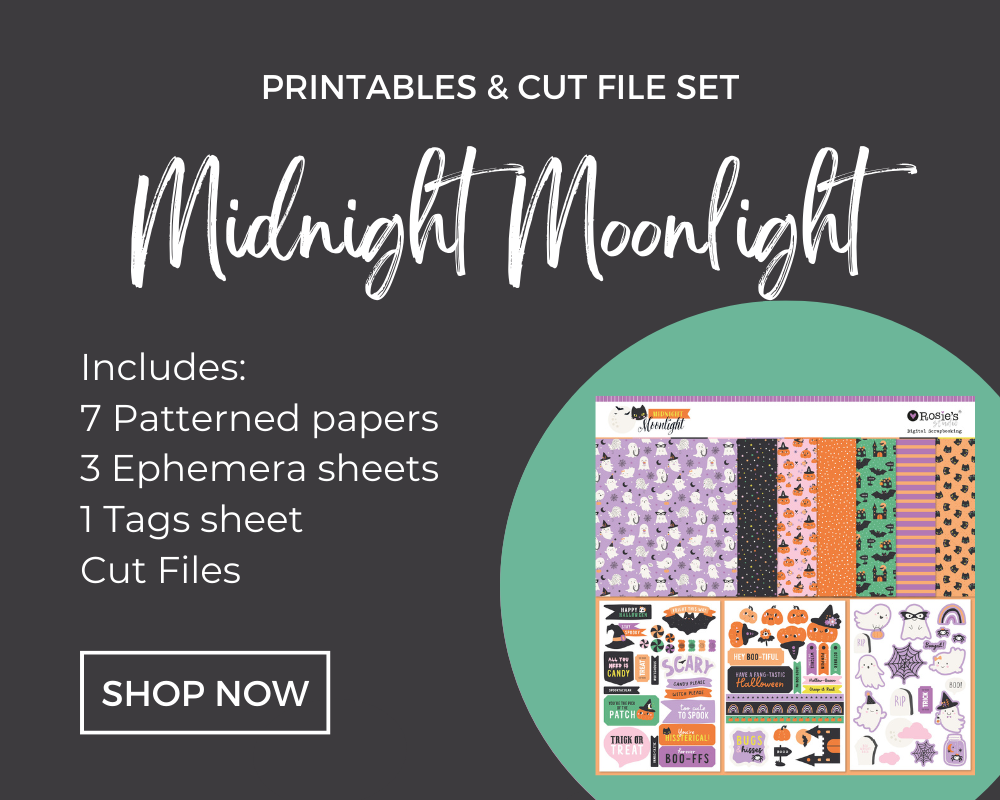
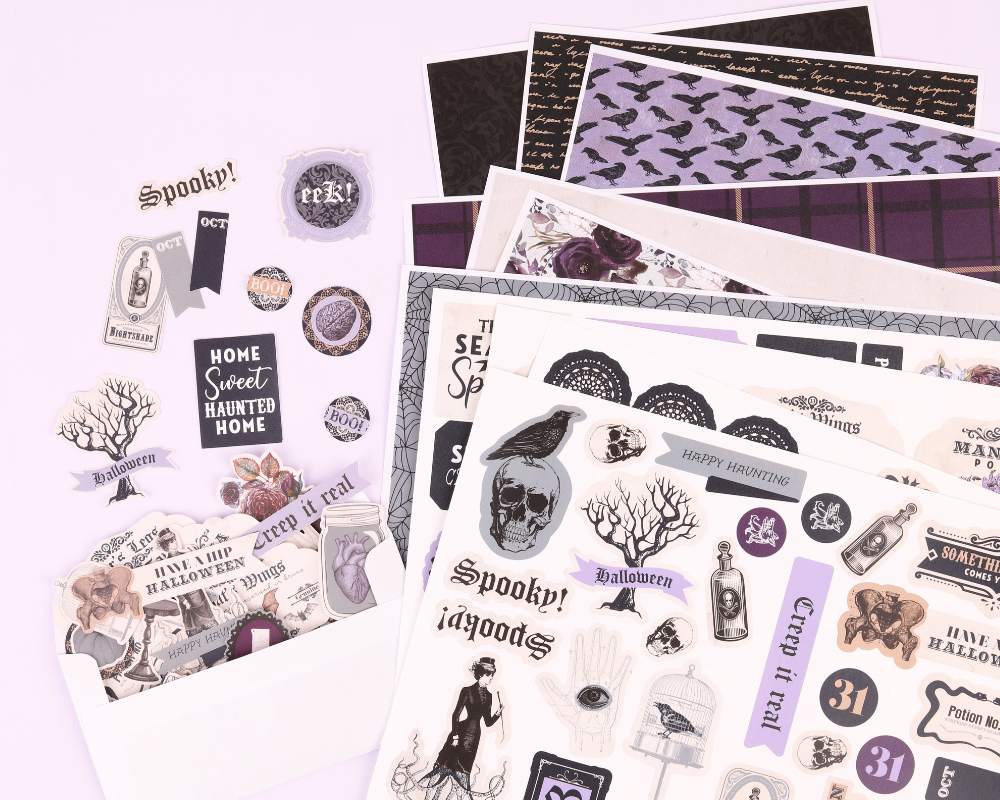
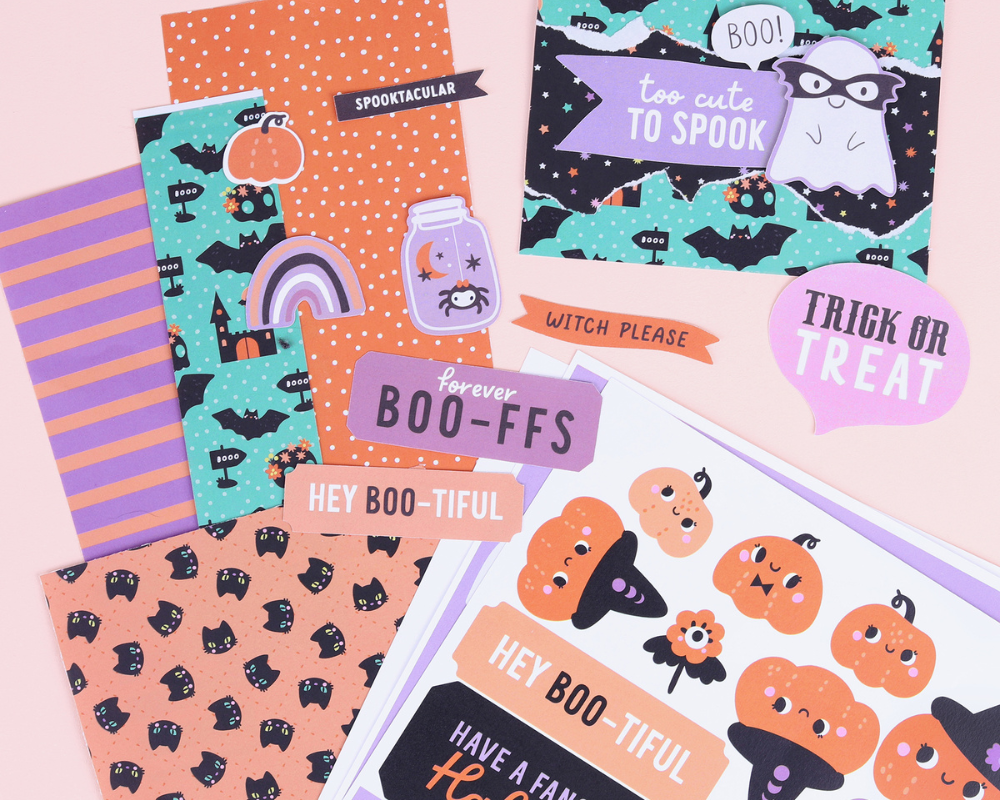
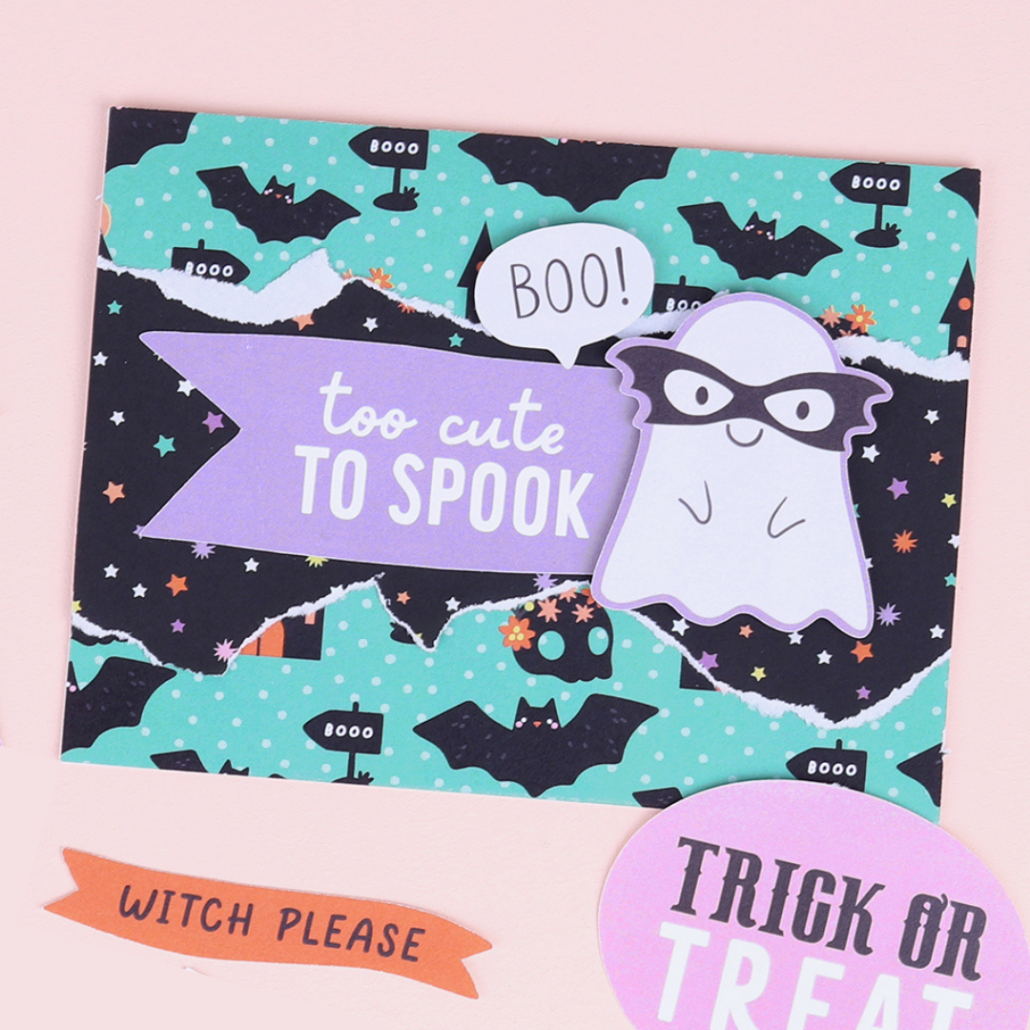
Toil & Trouble and Midnight Moonlight are Printable & Cut File sets.
So, once you’ve purchased the item online, you just download the files, then print the papers, ephemera, and tags at home.
Each set also includes cut files (hooray!) so you can cut out the ephemera and tags on your digital cutting machine (eg. Silhouette, Cricut). If you don’t have a digital cutting machine, a pair of scissors may take longer, but they do the trick!
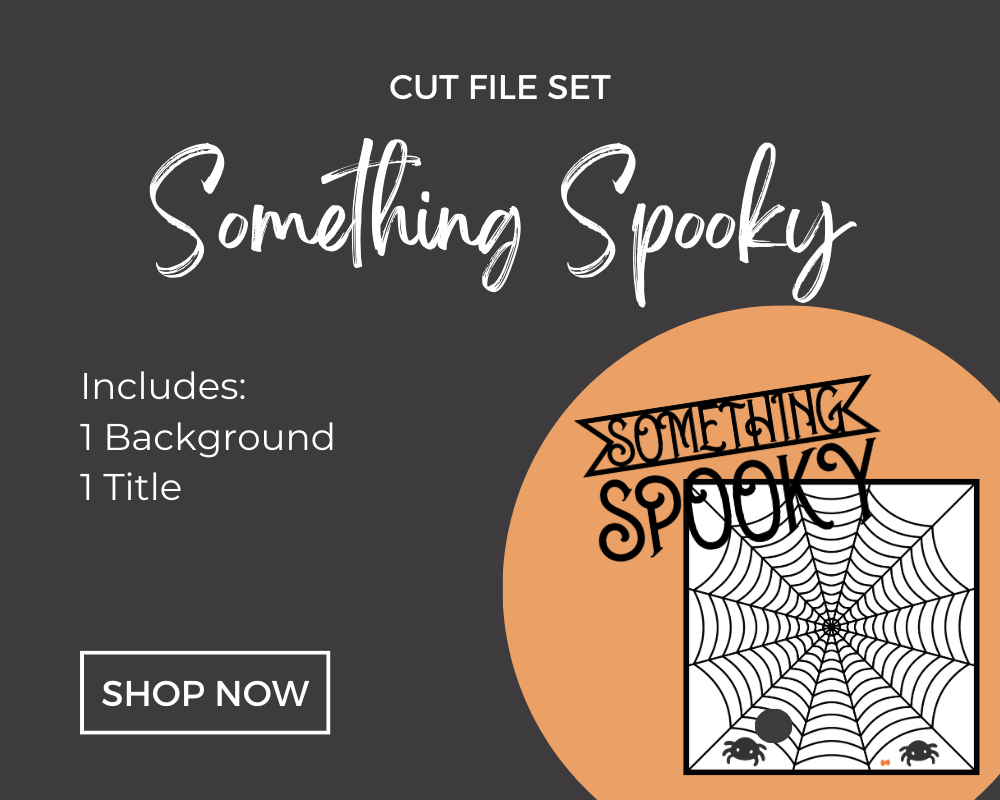
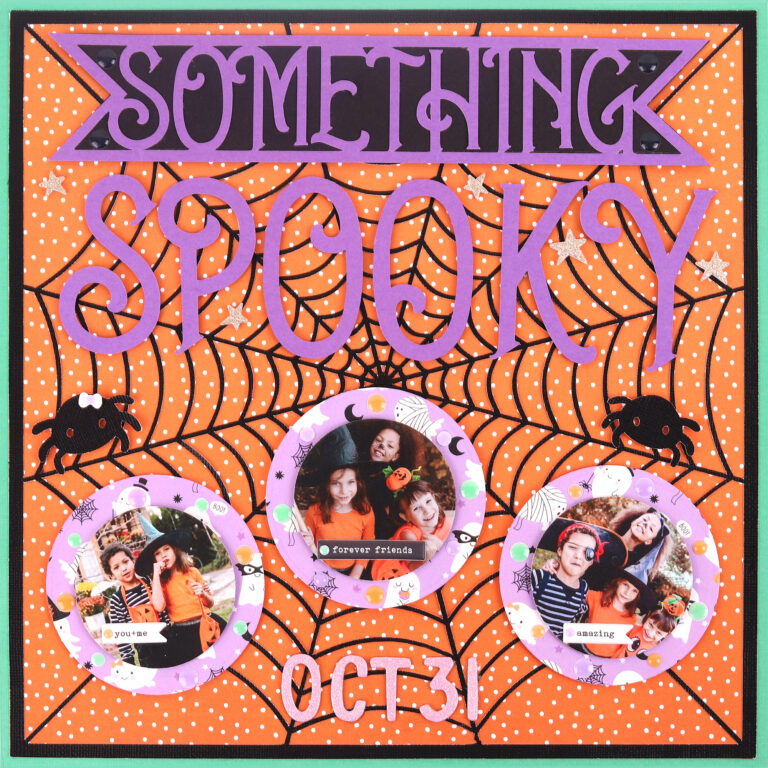
Something Spooky is a 2-in-1 cut file that includes both a spiderweb background, and a title.
Click on the pictures below to see these items in our shop and keep scrolling for some crafting ideas.
CRAFTING WITH Toil & trouble: delightfully dark
Don’t you love how ghoulishly gothic this collection is?
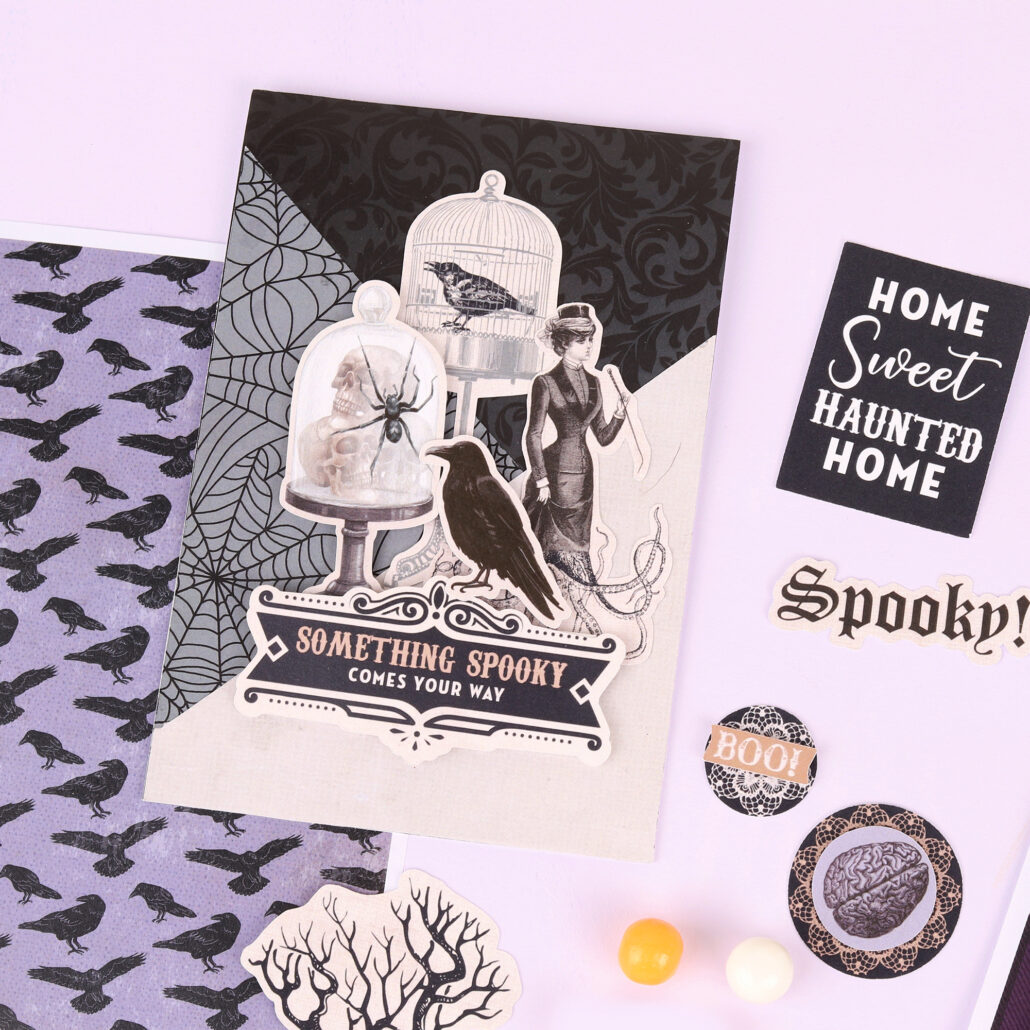
It has all of the things you’d expect to find in an old haunted house – apothecary jars filled with curious things, potion bottles, crows, and wandering ghosts.
There’s something quite sophisticated about the Victorian-era theme which would be perfect for creating cards and gifts for your friends, or Halloween dinner party table decorations.
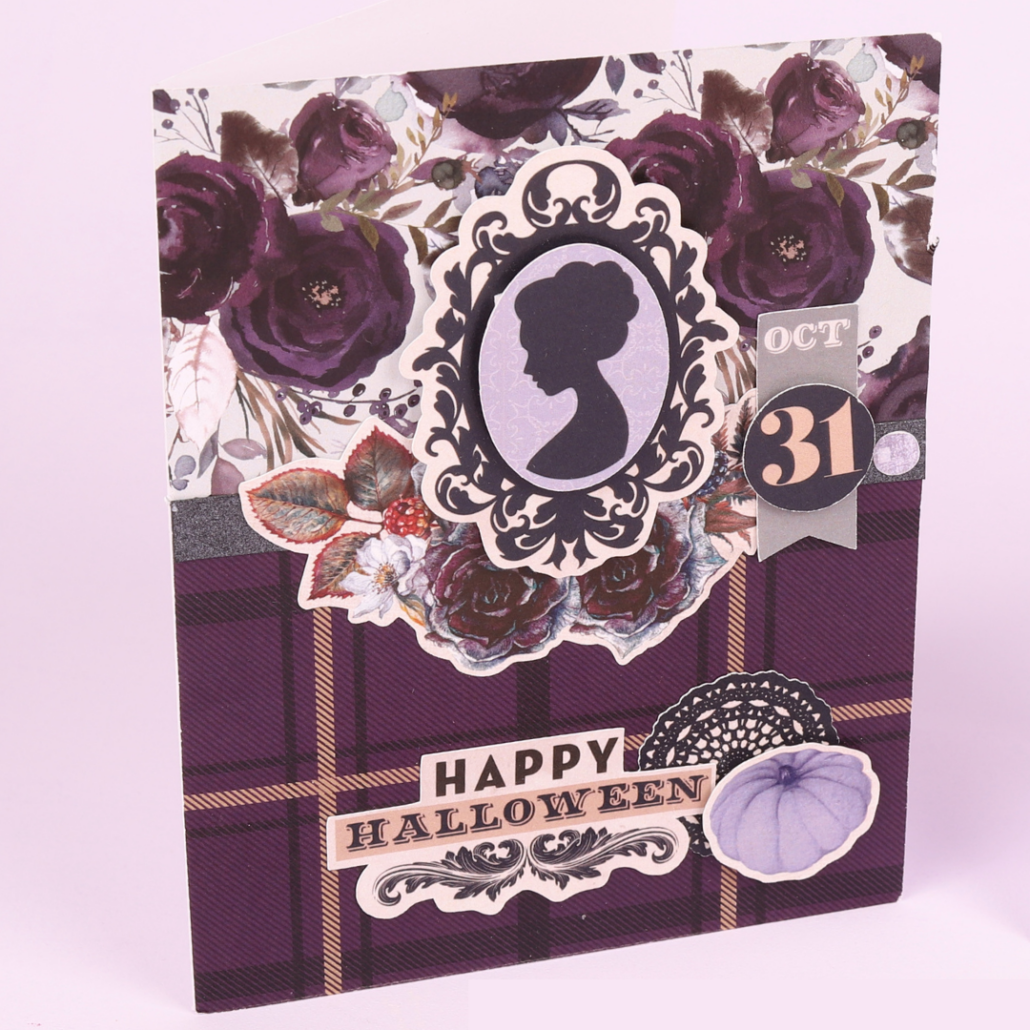
Our in-house crafter Lissa, created these cards that both capture the Halloween spirit in an absolutely stunning way.
She has used two different arrangements of patterned paper that give each card a unique look. Next she has grouped ephemera together to create strong focal points, and that tie in with the colours and patterns of the papers.
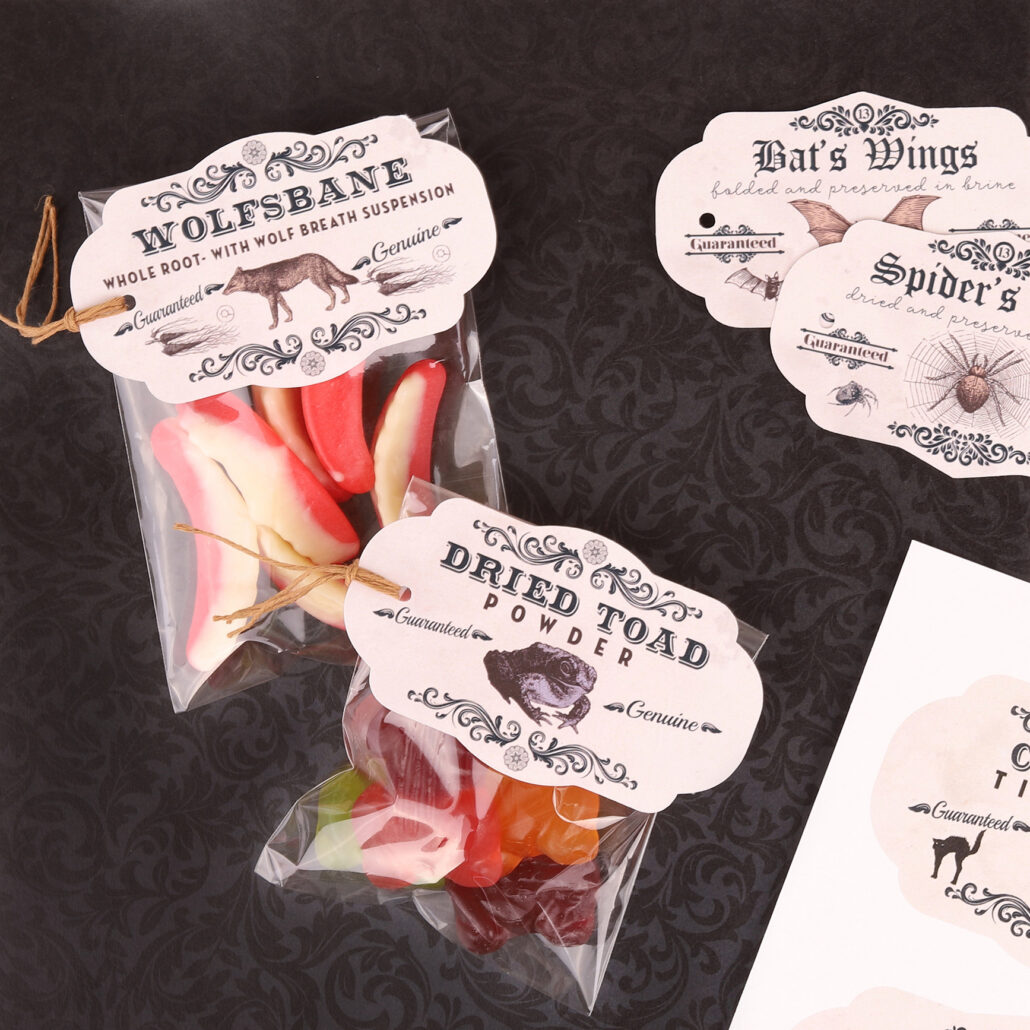
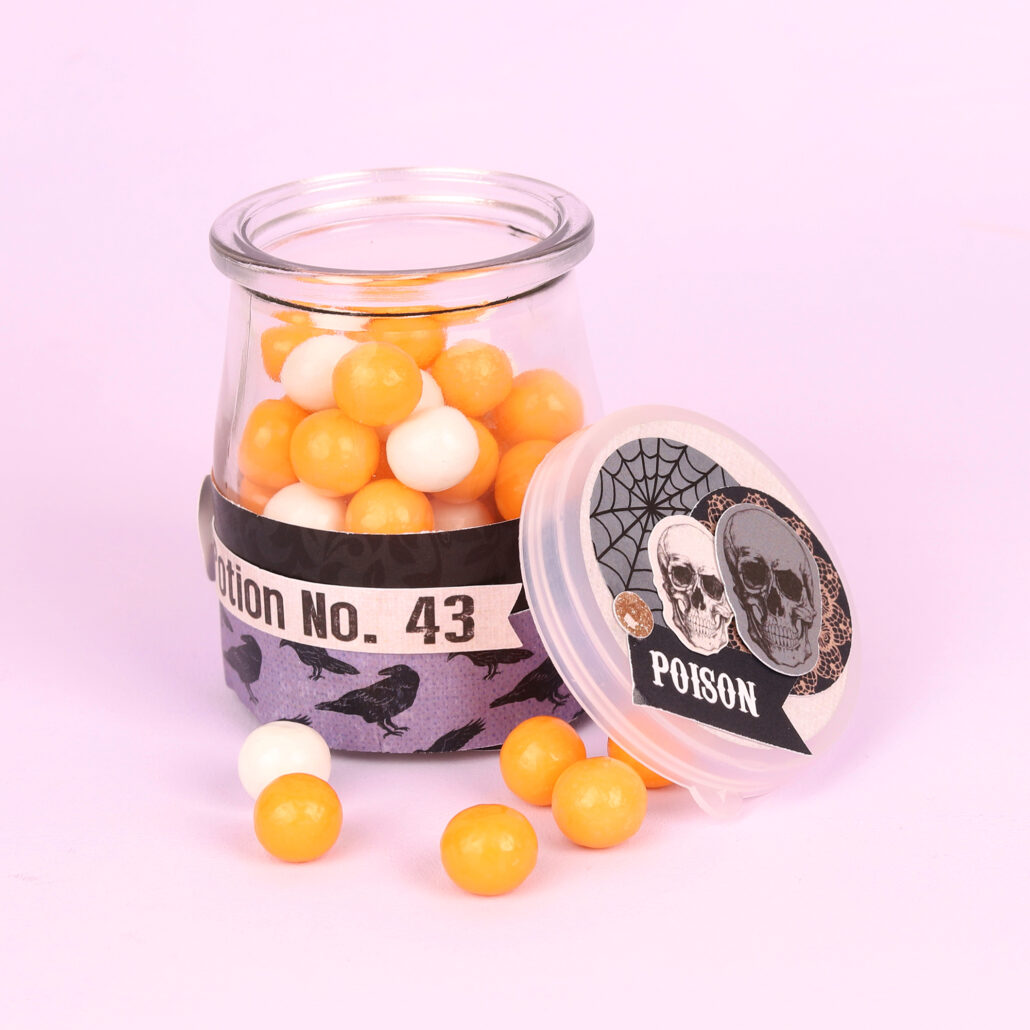
The tags in this collection say things like “Bat’s wings” and “Spider’s legs”. All you need to do is punch a hole in each tag and bag, then tie together with jute twine. Or, you can find small jars or bottles at your local discount store, and use strips of patterned paper and ephemera to embellish each one.
CRAFTING WITH Midnight Moonlight: frightfully fun
This collection is so cute it’s scary!
The Midnight Moonlight collection really celebrates the fun and playfulness of Halloween, and is perfect for making cards, gifts, and tags for all ages.
Because you can print out the papers and ephemera from this collection as many times as you like, crafting multiple items for classrooms, trick or treaters, and parties is easy.
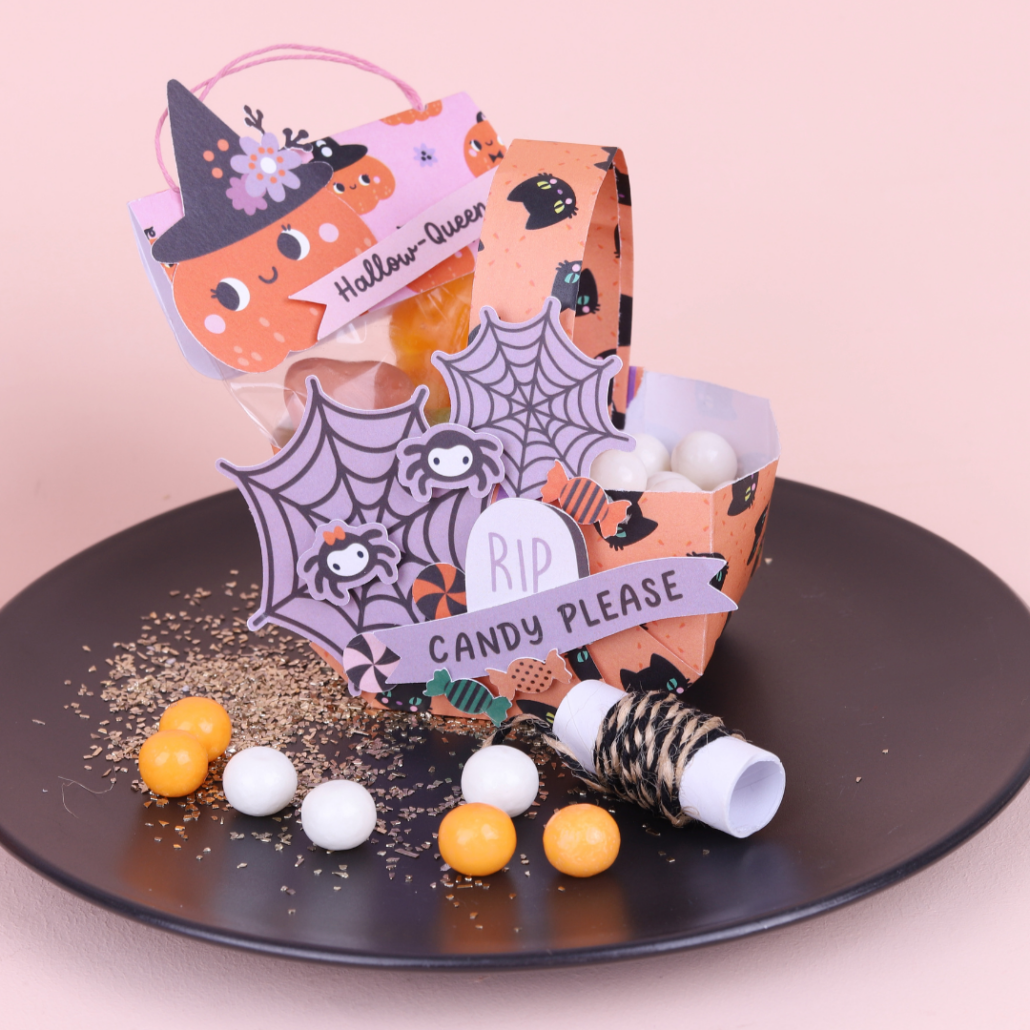
Here are 2 ideas for handmade classroom gifts, party favours, or handouts. The first is an adorable DIY Paper basket.
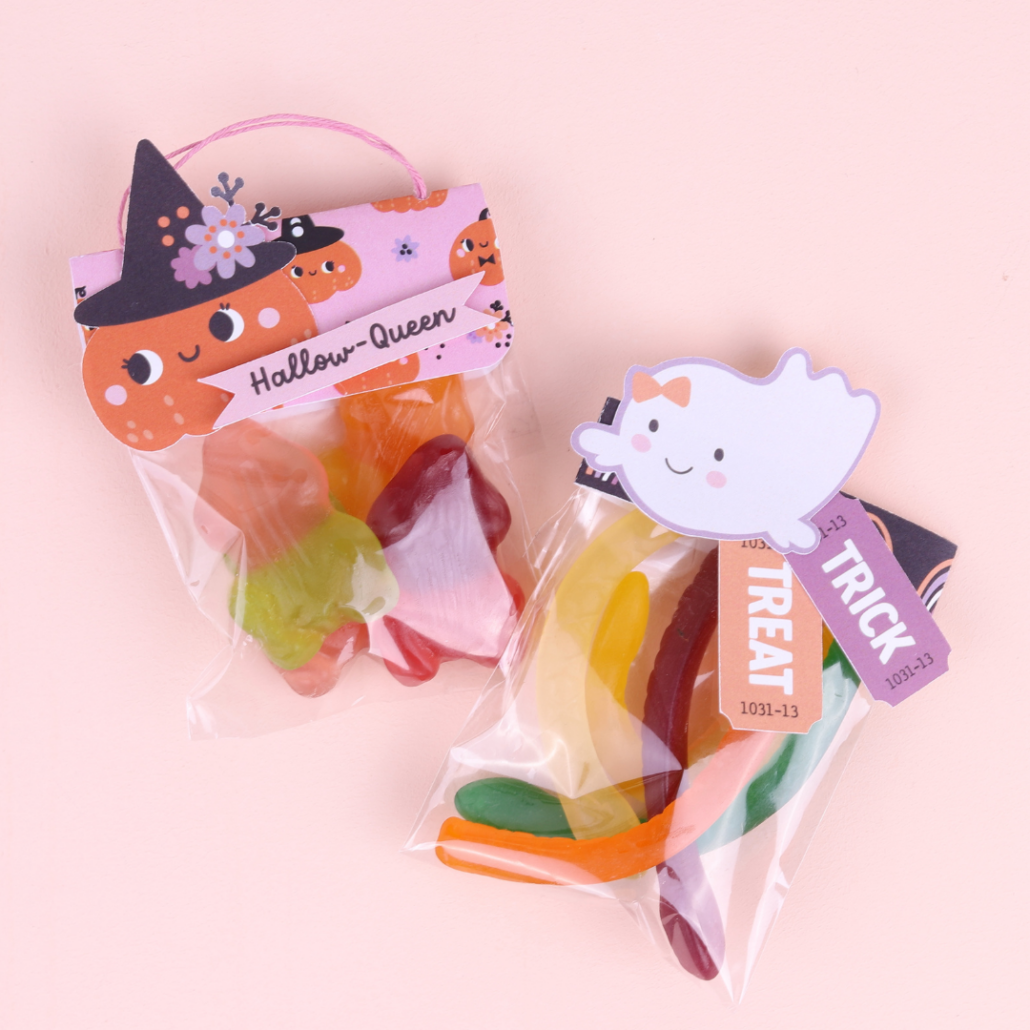
If you are short on time, treat bags are fast and simple. Just cut some patterned paper to the same width as your bag, by about 3″ or 8cm. Fill your bag. Fold the paper in half and use a stapler or double sided tape to attach it over the top of the bag to make a topper. Before she attached her toppers Lissa used thread and a sewing needle to make a handle.
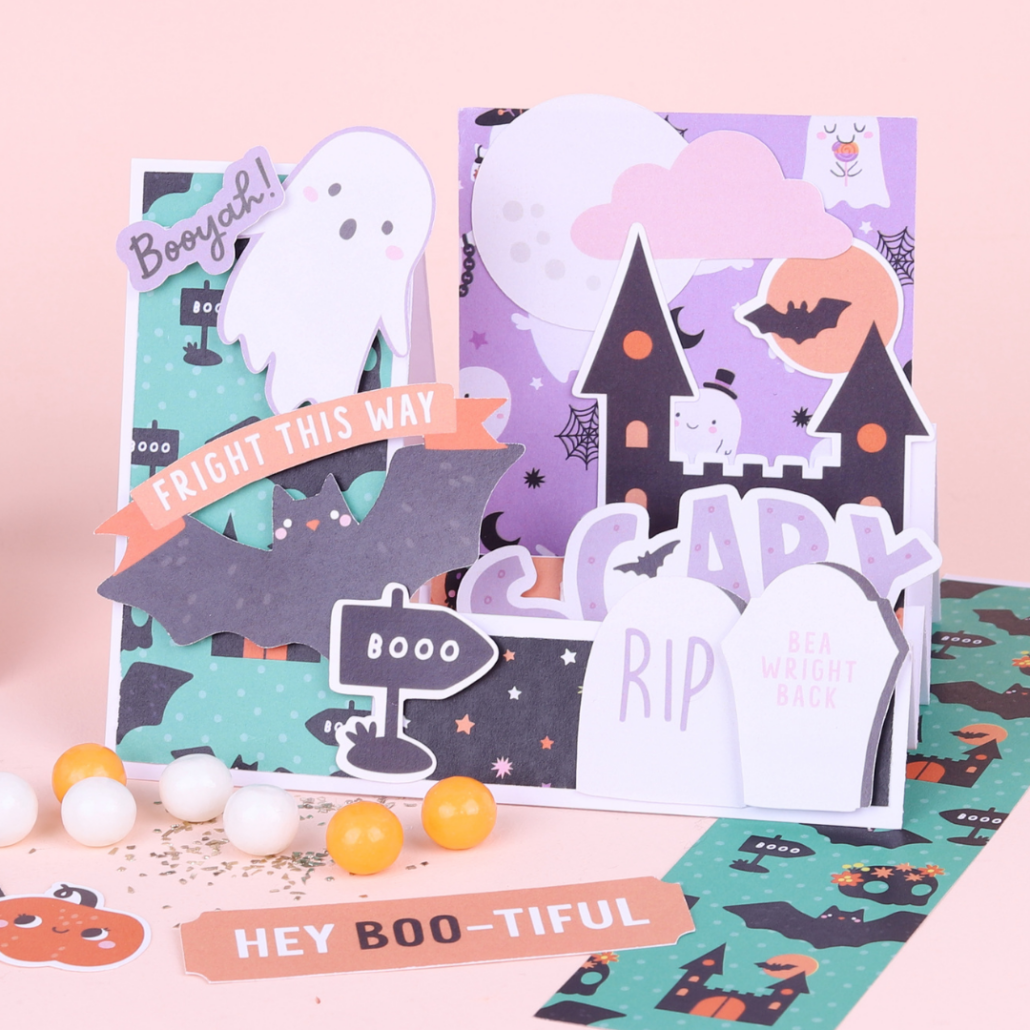
This mountain fold card has several faces that that can be decorated to create a 3D scene.
It’s a great way to make a handmade card that is full of interest and that brings together lots of different icons.
A LAYOUT USING Something spooky:
get 2 cut files for 1
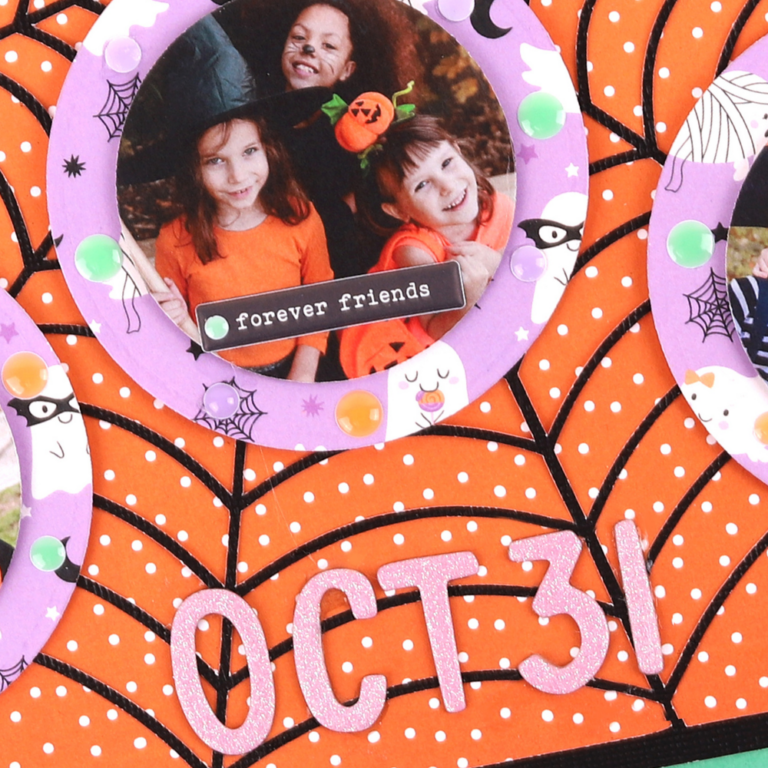
Our graphic designer Tracy had so much fun crafting her Halloween scrapbook layout using the Something Spooky cut file.
Not only does it come with a background, you get a title as well. Let’s take a look at Tracy’s Halloween scrapbook layout.
Items: Midnight Moonlight Printable Collection paper/ Work of Heart Chipboard Alphabets/ This is Us Puffy Phrase Stickers/ Roll With It Enamels/ Beautiful Dreamer Glitter Foam Sentiments (star stickers)
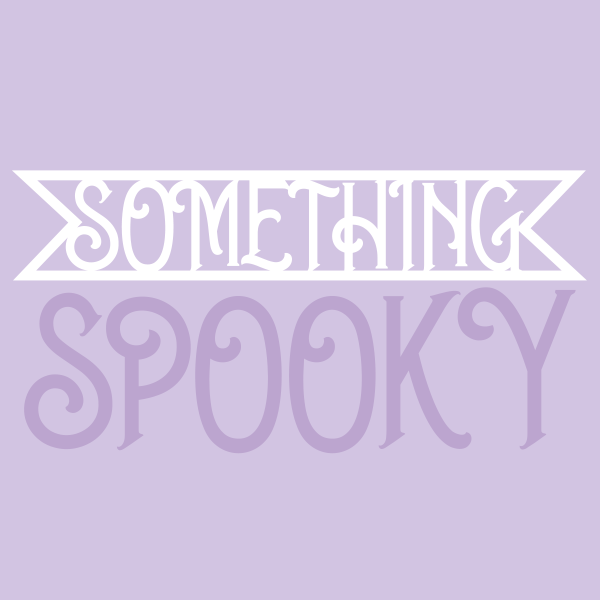
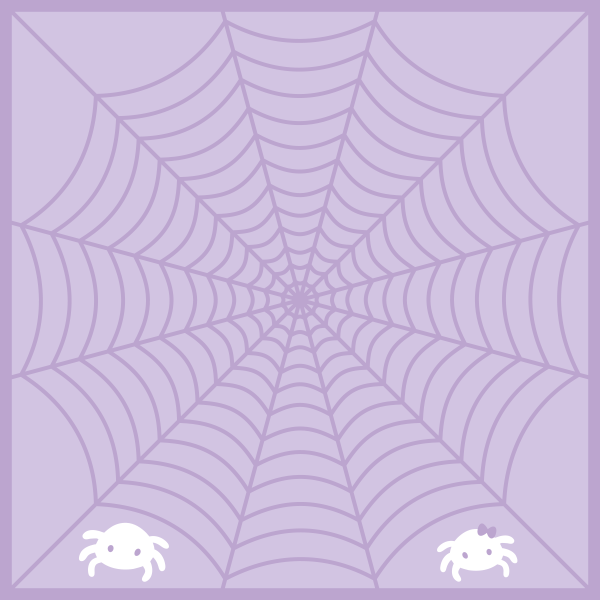
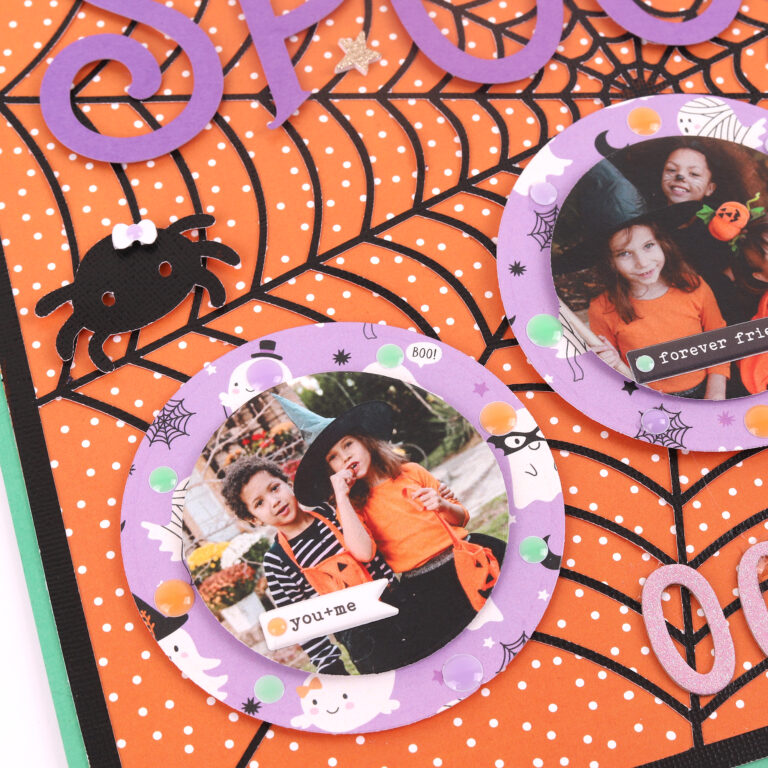
Using her digital cutting machine Tracy cut the spiderweb out of black cardstock. She cut the title out of purple cardstock and backed one of the words with more black cardstock. Next she adhered these pieces to orange paper from the Midnight Moonlight collection.
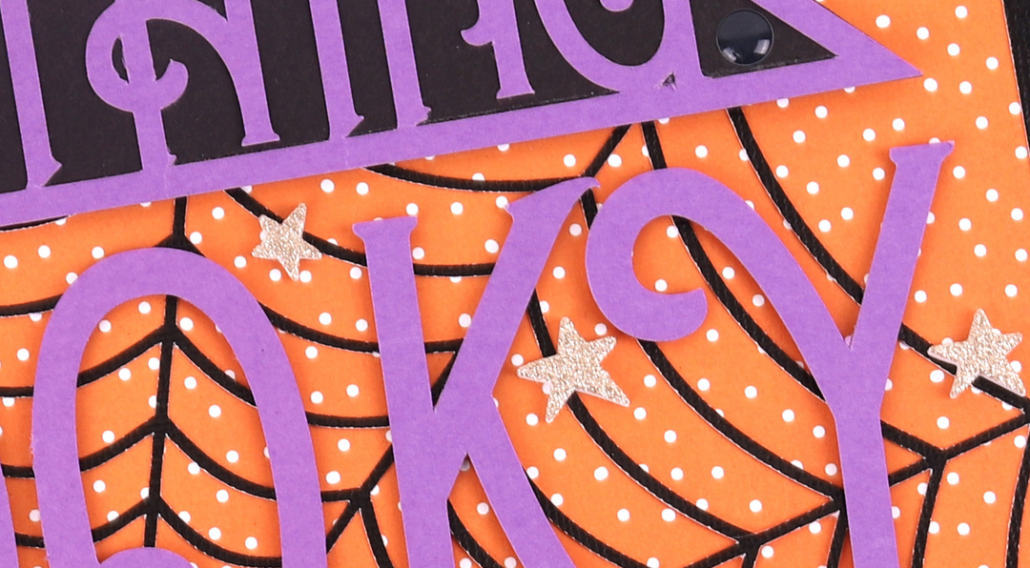
These gold glitter stars can be found in the Beautiful Dreamer Foam Sentiments. Tracy thought a bit of Halloween magic was needed, and the glitter adds just the right amount of sparkle while highlighting the title.
Because of the detail in the cut file and bright Halloween colours, this layout didn’t need much more to finish it off. A few Puffy Phrase stickers, and Glitter Chipboard Alphabet stickers were enough to capture the spirit of the day.
make your own kind of spooky
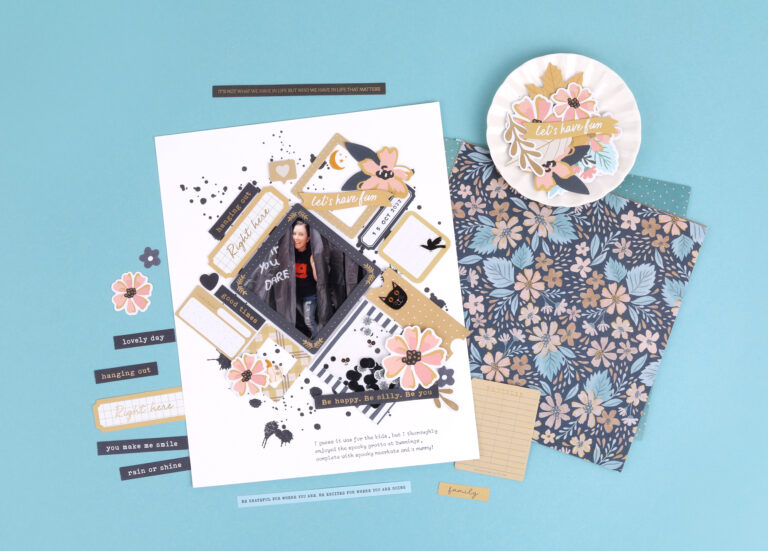
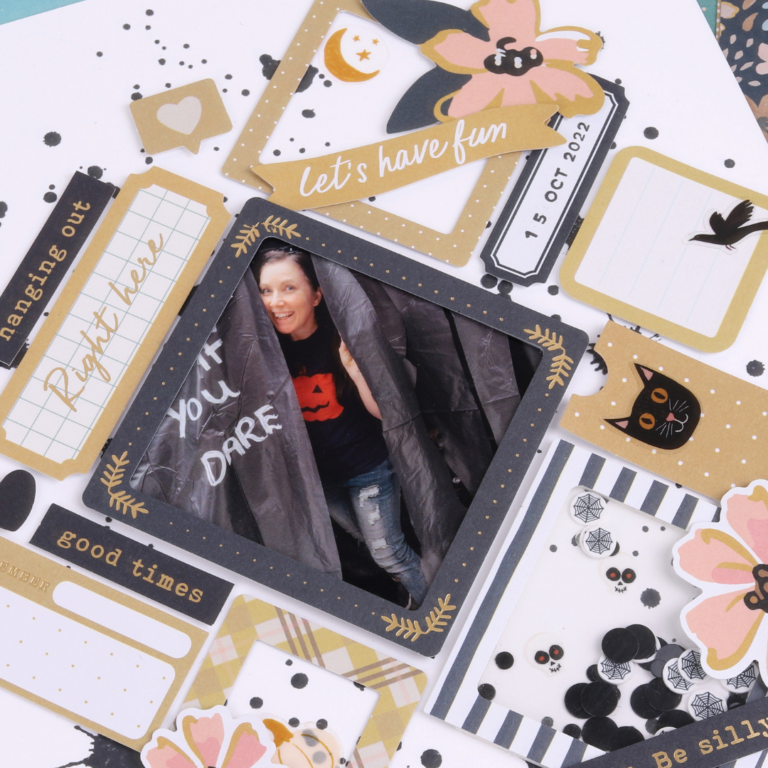
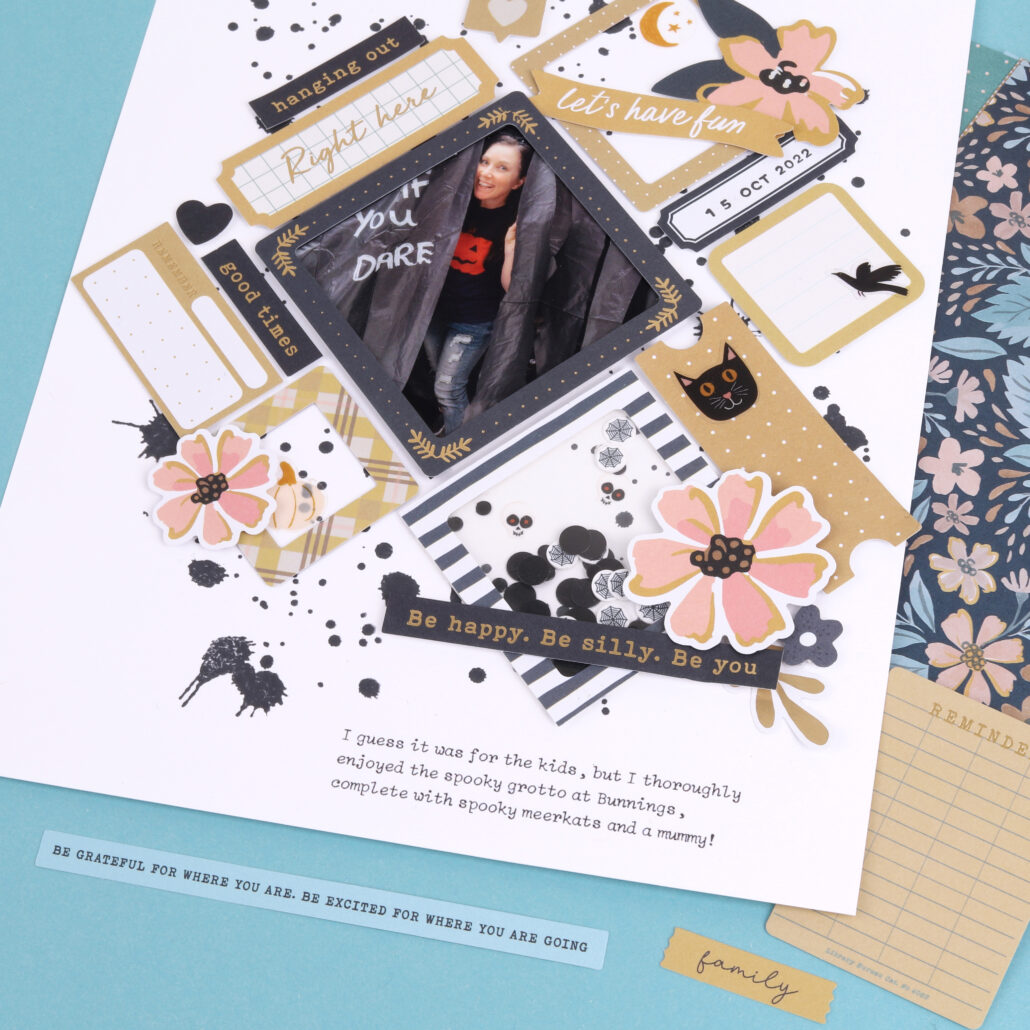
This incredible 6 x 8″ (15.2 x 20.3cm) scrapbook page was crafted by our Brand Ambassador, Mel and is the perfect example of how you don’t need to have Halloween-themed supplies to craft in a Halloween-theme.
The autumn theme of the Jumping In Puddles collection has all the right colours and elements, and just needed a few small additions from Mel’s stash (the cat face, crow and moon).
Mel created this collage-style arrangement of frames, journal spots and labels using the Jumping In Puddles Diecut Ephemera, Diecut Journaling Pieces, and Diecut Sentiments.
The paint splatters definitely make this layout seem a little bit terrifying. By keeping her colours to dark navy and mustard, she has crafted a stylish yet spooky page that is an up-to-date take on traditional Halloween colours.
The photo and diecut sentiments help to reflect how much fun Halloween is.
We hope this is just the start of Halloween for Rosie’s Studio. We would love to hear what kinds of items, colours, and icons mean the most to you at this time of the year.
Happy Crafting and Happy Haunting xx The Rosie’s team
Share this:

