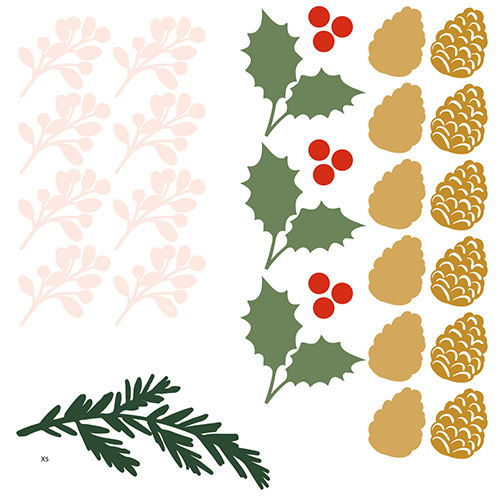
christmas wreath cut file
You will need :
• digital cutting machine
• cardstock
• 12×12 papers
• foam tape
• double sided tape or glue
• photo
• embellishments
Instructions:
Download the digital cutting file to your computer. The downloaded folder includes .png .jpg .dxf and .svg files, choose the type of file that your Silhouette, Brother or Cricut (or other) cutter requires. You will need to cut one of each shape and 5 of the pine branch shape. I used 12×12 Papers from our Rosie’s Studio ALL WRAPPED UP collection for the 12×12 background and cut file leaves and cones. I used plain dark brown for the solid layer behind the cut out cones. And I also cut a circular frame out of deep red plain cardstock for the frame to go over my photo and as a base for the wreath. My frame was 24cm (9 1/2″) with a 19.8cm (7 3/4″) hole, I used the Silhouette Studio software to create this.
I chose a photograph of one of my gorgeous daughters and worked out where on the frame I wanted them to sit before I roughly cut the photo into a circle. It really pays to lay out the leaves and pieces at this stage to see how you want them to overlap and where they’ll cover the photo.
Use double-sided tape to stick the photo to the frame and the two pieces to the 12×12 paper.
I then stuck the elements down onto the frame, some with double sided tape and some with foam tape to create height and layering.
You could shrink this cut file down to use on cards or smaller scrapbooking layouts too, or print out more of the elements to make a large wreath for your wall. These individual elements would also make fantastic embellishments for your ALL WRAPPED UP cards and tags!


