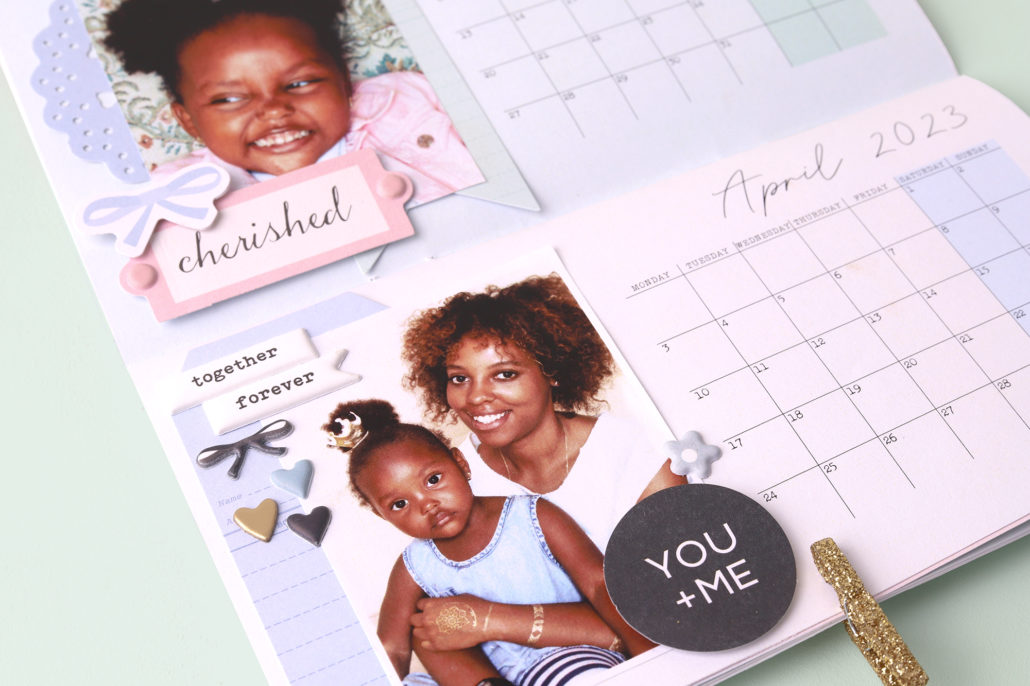
Make and Design a 2023 calendar
You will need:
- colour printer
- scissors or paper trimmer or craft knife
- glue or double- sided tape
- stapler (or you can stitch your calendar pages together)
- hole punch
- embellishments
- Print the pdf and cut out the 8 calendar pages.
- Note that each page is marked A, B, C, D, E, F, G or H. There is a diagram of this on pages 3 and 4.
- Take the 2 pages marked A/ B, and stick them back to back. Make sure you line up the 2 ends of your paper marked A, and the 2 ends of your paper marked B.
- Repeat Step 3 with the pages marked C/ D, then the pages marked E/ F, and lastly the pages marked G/ H.
- You now have 4 double sided sheets. Score each sheet in the middle, between the 2 months.
- Layer and align the 4 sheets in the following order:
- Bottom layer: Sheet A/B, with January 2023 and February 2024 facing up.
- On top of this place Sheet C/D, with March 2023 and December 2023 facing up.
- Then on top of the 2nd sheet place sheet E/ F, with May 2023 and October 2023 facing up.
- For your top layer use sheet Sheet G/ H, with July 2023 and August 2023 facing up
- Next, bind your calendar using a stapler or by stitching your pages together.
STAPLER TIP: If you are using a desktop stapler, open the calendar to July/ August and lay your pages flat on top of a piece of foam/ a corkboard/ polystyrene under your calendar. Press on the stapler to release the staple. You will need to bend the arms of your staples to hold them in place.
- With the calendar open at July/ August, punch a hole in the top and bottom of all the sheets. There is a black dot to show you where to punch.
- Close your calendar and trim the edges to neaten.
- Now, the fun begins! Embellish your calendar to brighten up your fridge, workspace or to give as a gift (we’re thinking of those grandparents)
