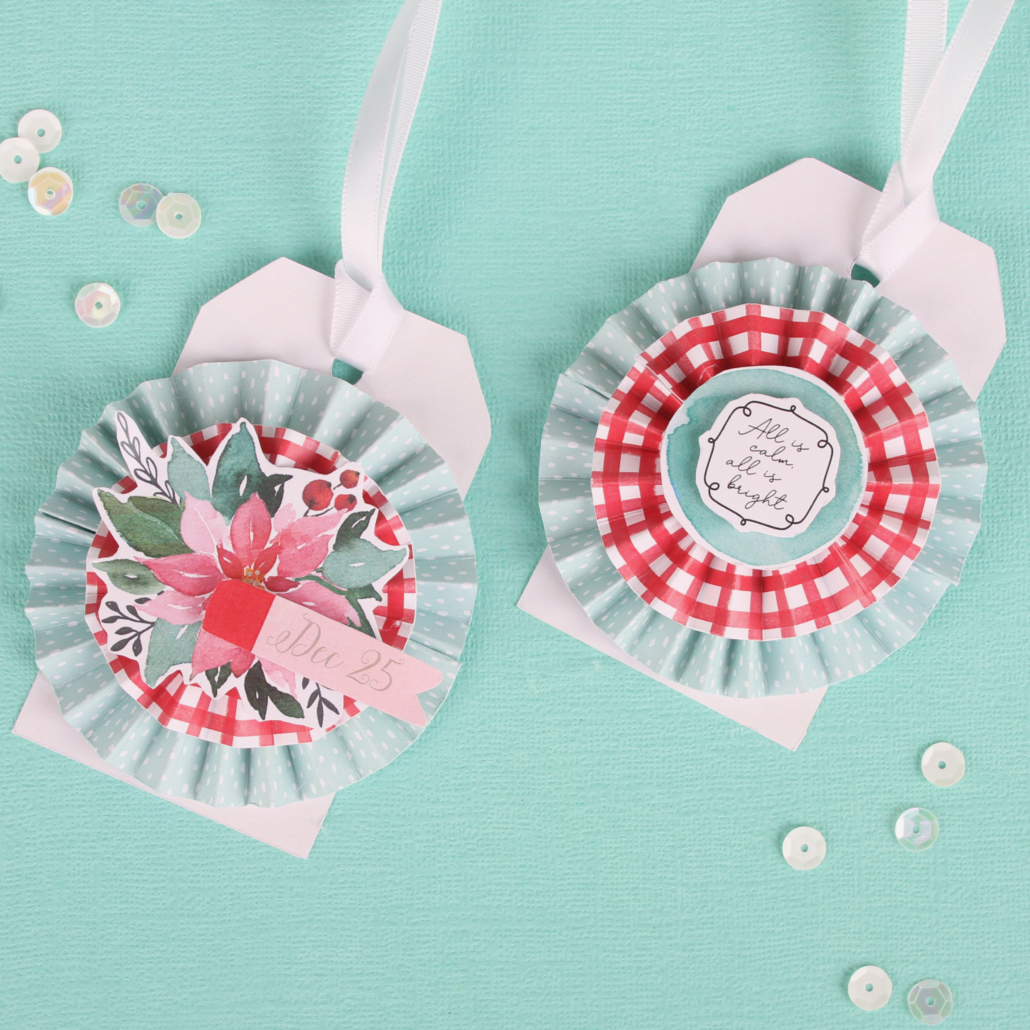
christmas gift tag
• scissors
• double-sided tape or glue
• a colour printer
• A4 paper or card
These little gift tags are a great way to try making a rosette embellishment, if you haven’t already. Paper rosettes are really easy-to-make and effective papercraft DIY embellishments. You can team them up with tags and an ephemera diecut, to pop on handmade cards, tags or scrapbooking layouts, as a creative 3D embellishment.
Instructions:
Print the page onto card or paper. You might like to glue the printout onto cardstock before you cut out the shapes to make the tags firmer. Cut out the tag and the other shapes.
Using a hole punch, punch a hole at the top of the tag.
Take the strips of patterned card and fold into rosettes by scoring the paper vertically along the width of the strips every 1/4” with a scoreboard or embossing tool. Fold along the scored lines to make an accordion fold.
For the red and white rosette use one strip and glue the ends together to form a tube.
For the mint rosette use 2 accordion strips gluing the ends together to make
a larger tube.
Take the tubes and press flat with the centre as tight as possible to form your rosettes.
Glue the mint rosette onto the mint circle in the centre. Glue the red and white rosette on the top of the mint rosette in the centre.
Take the other cut out shapes and decorate the top of the rosettes.
We used foam tape under some of the layers to give the tags a 3D effect.
You can add ribbon, twine or yarn to the tag hole to tie the tags to your gifts.
